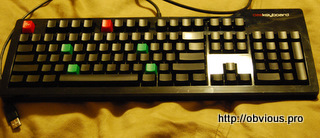
Screwing with the Das Keyboard
Introduction
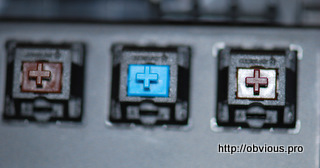
In this work log I will be substituting Cherry MX brow switches with different colors and mixes on my DAS Keyboard.
This is a mechanical keyboard produced by the American company using German MX Cherry switches. Das Keyboard comes in 4 models using two types of switches MX Blue and MX Brown; each model comes with blank or printed keycaps. In this paper Das Keyboard MX Brow with blank keycaps is used, thanks to my work for getting one ;)
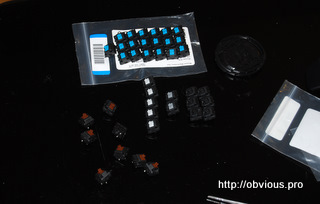
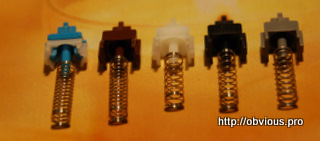
Before I start screwing with a $160 keyboard I will go over the switches themselves. I was able to get(buy) my hands on various switches from www.mouser.com. Those are Cherry MX Blues, MX Blacks, MX Clears (white colored) and MX Greys switches; Brown switches that you will see, are removed from the keyboard itself.
There is a lot of information about Cherry MX switches physical properties on the internets, for example on geekhack.org so I won't cover this material in this writing. Never the less, I might touch on it really vaguely.
MX Cherry Switches
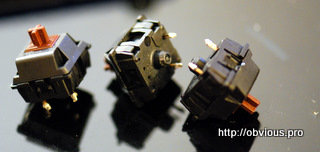
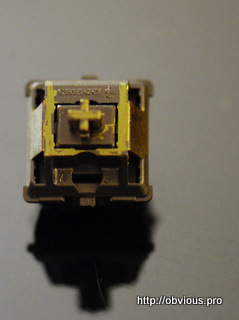
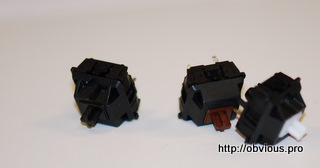
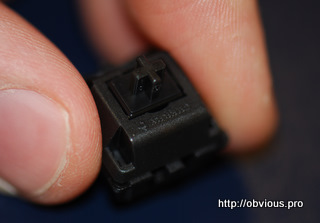
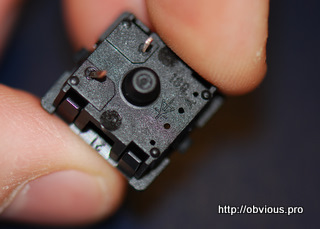
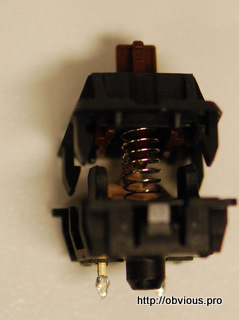
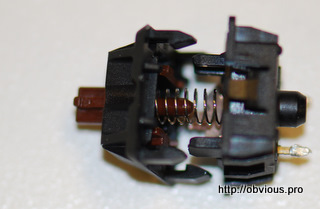
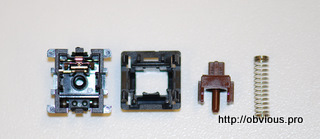
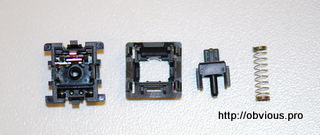
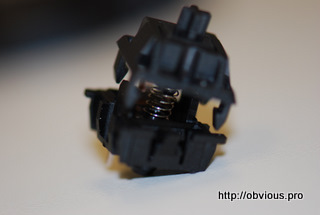
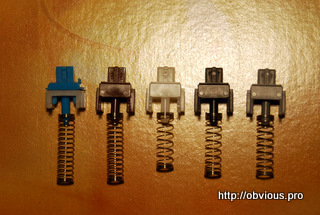
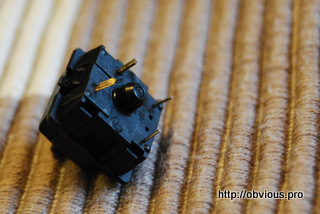
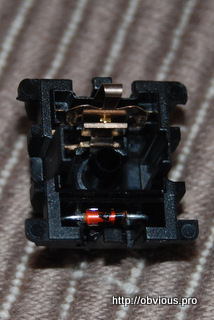
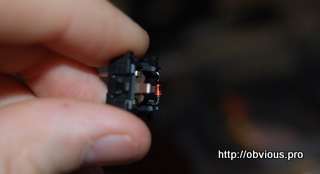
Each switch consists of 4 main parts: Bottom, Top, Spring and Stem. You can see Brown and Black switches dismounted in the pictures below.
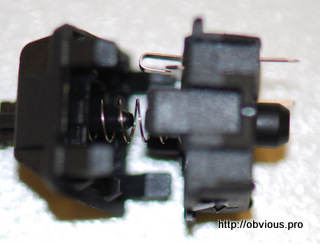
The switch is held together by 4 plastic hooks (2 per side), that are easily unhooked using a simple knife or a small screwdriver.
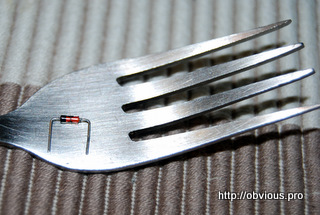
Other way of opening the switches is via using some kind of a metal hook and pushing outwards of the switch.
Here you can see, how to open a switch using a simple fork.
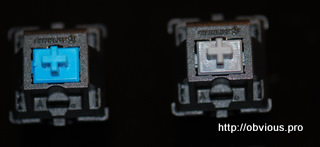
As shown in the pictures, 2 out of 4 parts are identical, and this is true for all the standard MX switches.
Two parts that differ are the spring and the stem.
The spring is responsible for the activation force and the stem is responsible for the tactile or linear feel.
In the case of MX Blue switches the stem is also in charge of the "clicky" sound.
Taking this into consideration you can freely mix and match springs and stems from different switches.
I will be covering some modifications later on.
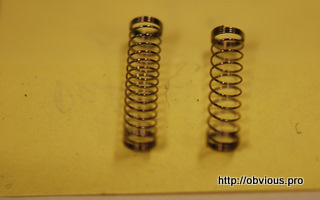
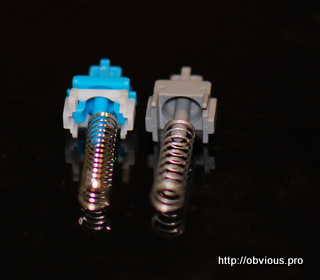
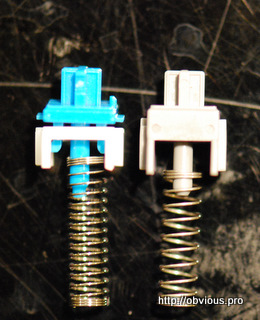
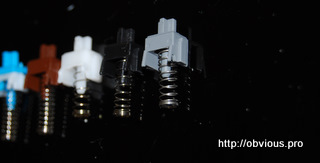
From what I've noticed, the less coils on the spring - the stiffer the spring is; even though the clear switch is somewhat an exception.
Black spring vs Brown spring.
Black stem vs Brown stem. Notice the little bumps on the Brown stem, they are to blame for the tactile feel.
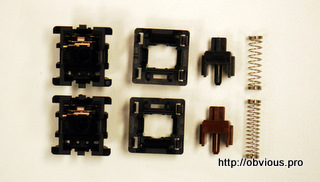
Here you can see all the springs and their stems matched.
Type of Mounts
Another aspect I would like to cover before jumping to the mod itself is the different type of mounts. To say the truth there is only two types, PCB mount and Plate mount. Das keyboard is one of the plate mounted keyboards which is supposed to be more robust but at the same time it's a pain in the ass to dismount the switches.
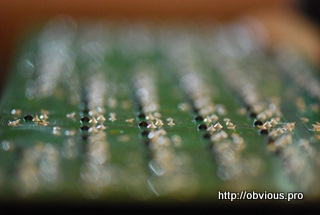
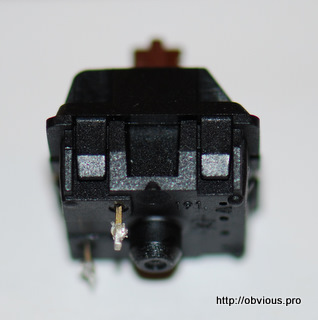
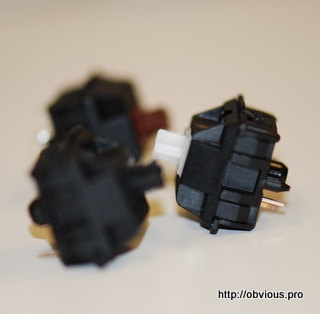
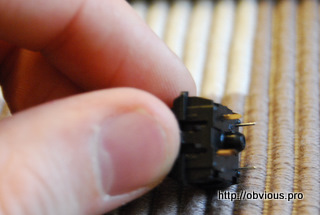
PCB mounted switches have two plastic legs in addition to two metal contacts. Plate mounted switches only have two metal contacts and are required to be soldered and unsoldered in order to mount and dismount them.
Left - Plate mount switch; Right - PCB mount switch
Oh and just a little switch description.
Tactile Feel
Brown, Blue, Clear
Linear Feel
Black, Grey (grey can come in both variations tho)
Force needed to activate from lesser to bigger
Brown ->Blue -> Clear -> Black -> Grey
Disassembly
ITS ABOUT TIME.
It's time to move to the MOD itself, HURAY!!!! Finally, OMG: - you will say and I will fockin agree with you.
Basically, as usual, I was not completely sure what I was looking for so I bought as many different switches as I could based on how much I wanted to spend.
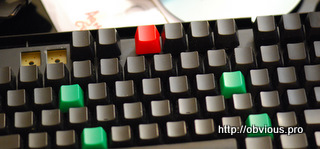
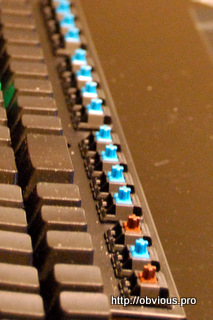
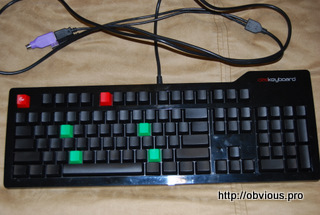
The main idea was to change the "F" row to all blues and make the arrow keys red, well ghetto red in this case. The rest would come to me on the fly, improvisation baby :) .
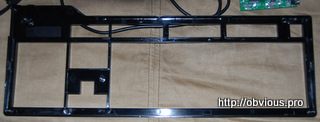
Obviously, it all starts with opening a keyboard itself. That was an exciting and kind of a scary task.
The warranty should have been voided and I read an article where a user states that it's virtually impossible to open Das without breaking any of the cover's hooks. Fortunately, "it went better than expected".
The screws unscrewed and hooks unhooked. With a slim knife and some (not that much) patience it's not that hard to open the lid preserving the hooks.
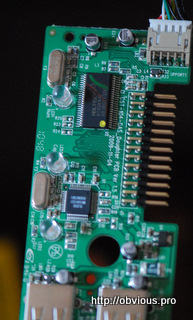
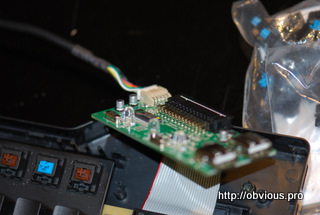
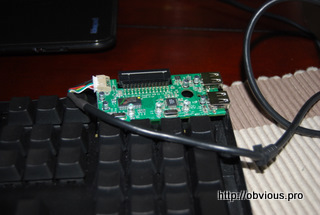
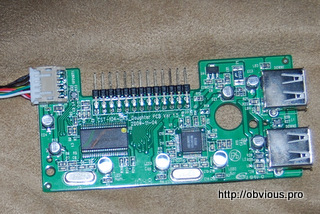
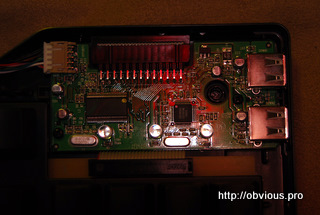
On the top right there is a keyboard controller itself. The controller, which includes USB 2.0 hub, is connected to the keyboard via a parallel cable similar to the floppy 'IDE' one.
The small board is held by two little black screws - not a biggie, couple twists and the PCB is free...
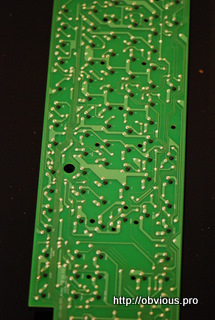
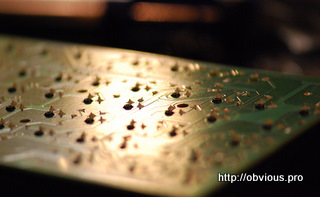
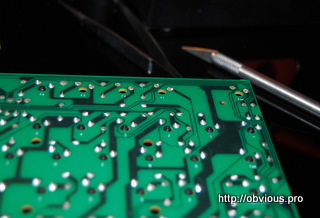
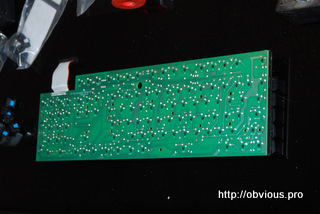
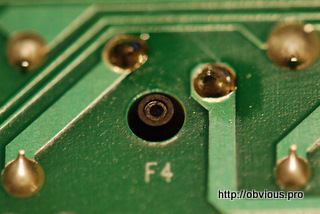
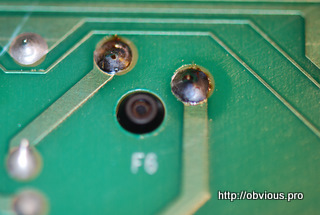
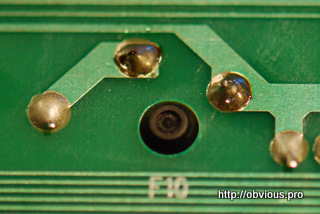
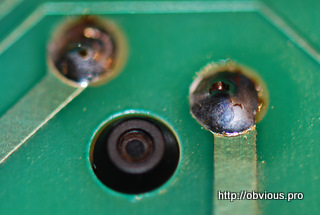
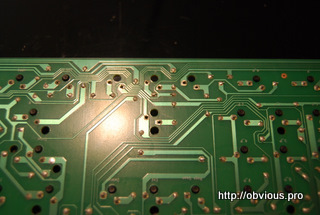
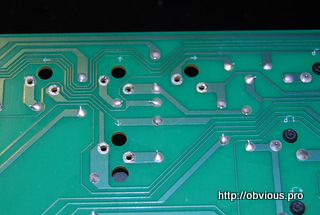
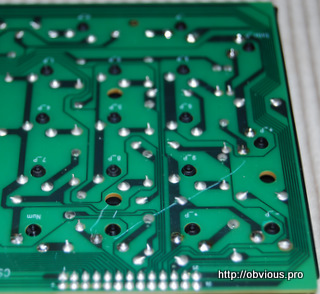
The PCB board itself is nothing special, well it's a Printed Circuit Board, but I like the little touch of having each key labeled on the back of the board. It really makes it much easier to work with it.
The Tryout
Before the 'full scale', I had to try on something useless; and what is the most useless key on a keyboard? Of course it's an infamous scroll lock! I am pretty sure the 95% of users have no idea what this key does. Personally I never used it for anything rather than cycling through the servers on a KVM switch, and this keyboard won't be used for that.
So, here we go!!!!
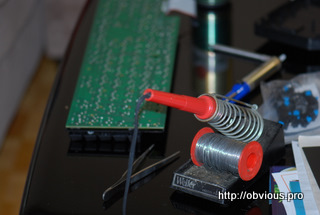
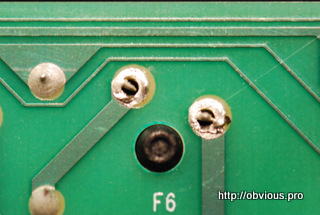
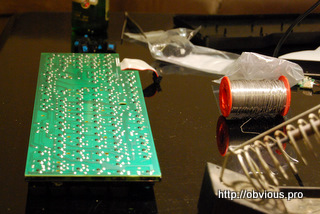
Keeping in mind that the last time I used a solder was about 13 years ago and I never unsoldered from a PCB before, I believe I did a pretty good job.
It took me not much longer than 36 mins and a half to unsolder the first switch, hell YEAH \m/. That was a Truly exciting geek moment. On the other hand placing a Blue switch instead was much an easier task; it took me under 9 mins to accomplish such a complicated process. And that's it, the work is done, the user is happy, time to move on!
Testing the switch was not part of my plan, at least it never happened. I just made a bold assumption that all is good and the keyboard is not ruined.
Next step - go BIG. The entire 'F' row must be gone. The 'Esc' is next.
It was a struggle to get it out; virtually it took me as much time as the Scroll Lock.
Being a noob in unsoldering definitely played a major role and not the couple beers I had. Never the less it was another modest success for me.
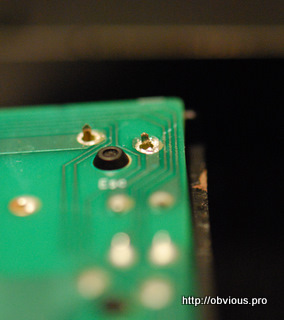
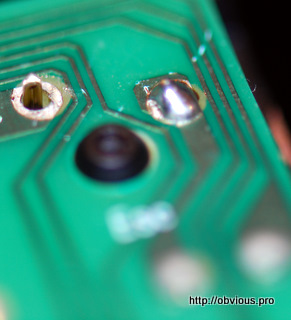
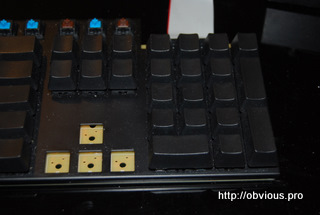
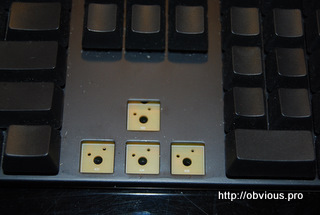
One thing I've noticed after removing the switch is the unique numbering on the PCB top part. I did not really get the gist of it, neither had I tried, but that's another nice touch from the Das Keyboard designers.
Switch's Ledges
Oh, one thing I did not mention is how the switch is held in place.
The soldered contacts are not the only things there;
it would be kind of stupid to rely on two slim metal legs for the keyboard that claims to be good for millions strokes.
Each switch has two little ledges with two notches each.
In order to take the switch out, it's enough to press (push) one of the ledges and pull out with little force. One leg of a
tweezers works as a charm for this.
Repeat the procedure with the second ledge, and you should have the switch popping out like pokemon from a poke-ball.
I am glad I did not forget to cover such an important topic, now it's time to move on.
Full Scale
After taking out the ESC key, taking the rest of the F keys was a piece of cake. I wont lie stating that it took me little time,
I would rather say that on average I've spend 9 minutes and 51 seconds per switch. And in a long run, including beers,
breaks, hockey and food, I accomplished it in a couple of days.
It's time to solder something back. My initial plan was to use pure blue switches for the entire F row including the ESC key.
On my second thought I decided that plain blue will be kind of boring for such an important part as the 'quitters' key.
Few seconds later I had a brilliant idea, the stiffest spring with the blue stem. I tend to hit Escape pretty hard and the 'clicky'
sound is a pleasant bonus and in addition I save myself from the accidental key activations.
Create the custom switch, place it in the hole, push until the distinct click, turn the PCB around and solder are the next steps.
Easy as it sounds; however I was really impressed by my soldering skills, no jokes here.
I though it would be a total mess, but the final result was a complete opposite.
I had this thought about testing the keyboard before moving forward, but I got too lazy to go to the adjustment room to grab the controller
and hooking it up to the laptop. Consequently, I decided to proceed and solder remaining 12 switches.
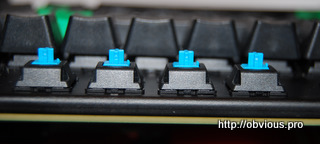
All the switches from F1 till F12 are organic blues, no modifications added. Thought and done. What a magnificence of a work.
Gaming Keys and Ghetto Red
Gaming to computer is like sluts to Duke Nukem.
Yes, indeed, it's time to move to the gaming set of keys. I prefer to use the arrow keys for the movement.
In addition, I have a some what unique hand placement while playing which makes it easy to access: R_Ctrl, R_Shift, Pipe(|), Del and End.
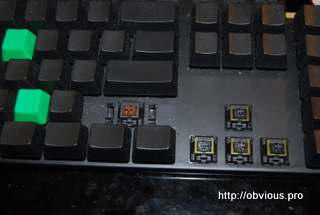
As I mentioned before I will be using Red style of switches for my gaming keys. Here is a problem; I do not have any of those.
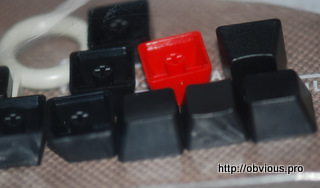
The solution is easy, create your own. The Red switch is a combination of a Brown spring and Black stem.
That makes it a soft version of a Black (linear) switch. This type of a hand made Red switch is also called - 'Ghetto Red'.
During crafting a ghetto red switches I found out that I do not have enough black switches for the stems.
Luckily I had couple Grey stems untouched. From what I've seen they are identical to Blacks.
That the reason behind two of the 'gaming area' switches being grey colored.
Before jumping forward I would like to cover the Keycaps.
DAS has standard Cherry MX compatible plastic key caps.
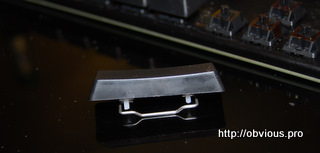
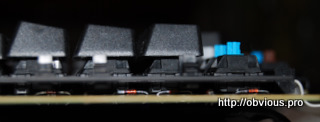
The bigger keys, like Shift, Spacebar, Backspace, etc use metal stabilizers to distribute the force evenly.
I find this method to work really well, better than special stabilizing switches that can be found on other keyboards.
On the downside, those key caps are harder to remove and install.
Note, you can keep the stabilizer attached to the keyboard and remove solely the keycap.
Numpad Set
Back to the gaming area - it's done. After the F row I got fairly good in unsoldering, so the removing part was an easy task,
installing the new switches was even easier.
Just few words on why the Red for the gaming set.
When I play I bottom down in 90%, and applying the least amount of force to activate the key is just a benefit.
The activation force of 45cN should be enough to prevent the accidental activations.
Now I had to move to the 'num pad'. Preferably I would really like to make the whole part clicky,
unfortunately the availability of the blue stems was limited.
I had only 6 left. Six is not enough for the numbering part but fits perfectly on the math operations area.
Never the less, having the same activation pressure across the whole 'num pad' is a big deal.
And here we go, modifying the switches again. In this case, Brown spring with the Blue stem, making a lighter version of the Blue switch.
The 'Num Lock' is becoming Clear for the harder activation force and the tactile feel.
Last Touches
Few more modifications left before the final result. The remaining ones, except the spacebar, do not have any practical implications per se,
but they add some organization to the layout. Spacebar, that long spaghetti looking key, must be stiffer than most keys,
but at the same time I would like it to have the tactile feel. This means the use of a clear or combination of brown/grey switches.
The decision is obvious, combo it is.
Other keys I modified were: 'right windows', 'caps lock' and 'backspace'.
I made them Clear, for the reason that I tend to hit them harder than the typing block.
To be honest with you, there is not much of a difference; the only benefit is not reaching the bottom so often.
'Tab' and 'Left Windows' are using the stiffer version of brown switches, they have Brown stem with Blue spring.
And for the last, I had to find the room for my least favorite combination so far, Brown stem using a Black spring.
I find this combination quite ridiculous having the clear switches, which give you very similar results.
Never the less I wanted to use those somewhere, as I had a bunch left after crafting the 'Ghetto Reds'.
The keys of choice were [drums play]: 'Page up' and aaaaaaaa 'Page down' keys!!!
The reasoning is simple.
I use them on a daily basis, but I hit them quite hard. Meaning that there is no real difference what spring or stem (except blue) to use.
So here you are - the perfect fit! Unsolder & Solder for a little bit more, and whoalla, it's done, phew, time to rest on a couch and watch some hockey; don't you think so? :)
Conclusion
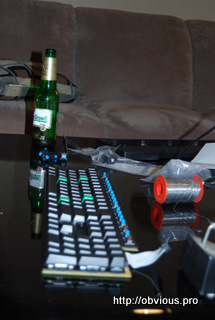
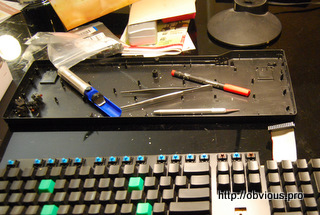
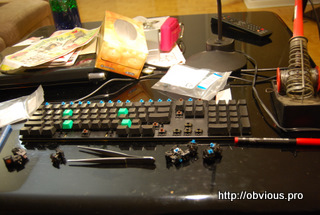
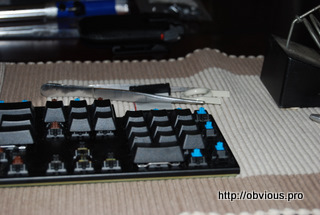
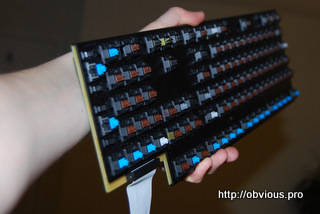
Here you can see the keyboard without the casing and having all the keycaps removed.
The keycaps are placed separate in the proper order for ease of placing them back.
Last two bits, are testing and the assembly. First bit was an exiting moment. I was not sure if the scratches I made on the PCB would have any effect.
Luckily the scratches were not big enough and the keyboard just amazed the laptop with it presence.
The second bit, was somewhat a bitter-sweet moment. On one side, I was done, and I could start using my new keyboard.
On the other side, I was done, meaning no more fun, no more modifications and no more customization.
All in all, that something that must have happened, and it did.
By the time I am finishing this paper, I have been using my re-born Das Keyboard roughly for a week and I can tell you that it's just amazing.
If you ask me what would I do different, I will tell you not too much. I think having 'Scroll Lock' Clear would make more sense.
Using same type of switches for 'Insert' and 'Home' as for 'Page Up' and 'Page Down' would be logical. However all this is very minor details.
The only thing I really regret is the small amount of Blue switches I had; I really liked the feel and the 'Clicky' noise.
If I had more I could have made my whole 'num pad' making the sweet clicky sound.
Never the less I am very pleased with the work and the final result.
If it's worth it or not, you are to judge, personally I really enjoyed the process. The final result is excellent without any doubt,
as it was the initial product ;).
Well, it's time for the farewell: Cya laters keyboard haters.
Total pics used in the review: 86
Big Thanks to Yulia for all the support!!
More pics below:
